UniFi Video G3 Camera CCTV home setup
Posted on 13 March 2017
6 minute read
Following on from a recent post on my new Ubiquiti UniFi networking setup, I decided to write a separate post about my UniFi G3 CCTV home setup too.
I originally had an Annke system. This was “OK” for a while, but the cloud viewing component for my “iThings” used XmEye. This was apparently open to issues with the Mirai IoT botnet malware. I immediately disconnected the ethernet cable from the back of the control box and made sure that no wireless connection could be made from it to the outside world.
I had got quite accustomed to having the knowledge that CCTV was protecting my home to some degree and decided to put all my eggs in one basket for want of a better term and went with the G3 units from Ubiquiti. The immediate specs of interest for these are:
- 1080p HD resolution
- 30fps
- Built-in microphone
- PoE installation
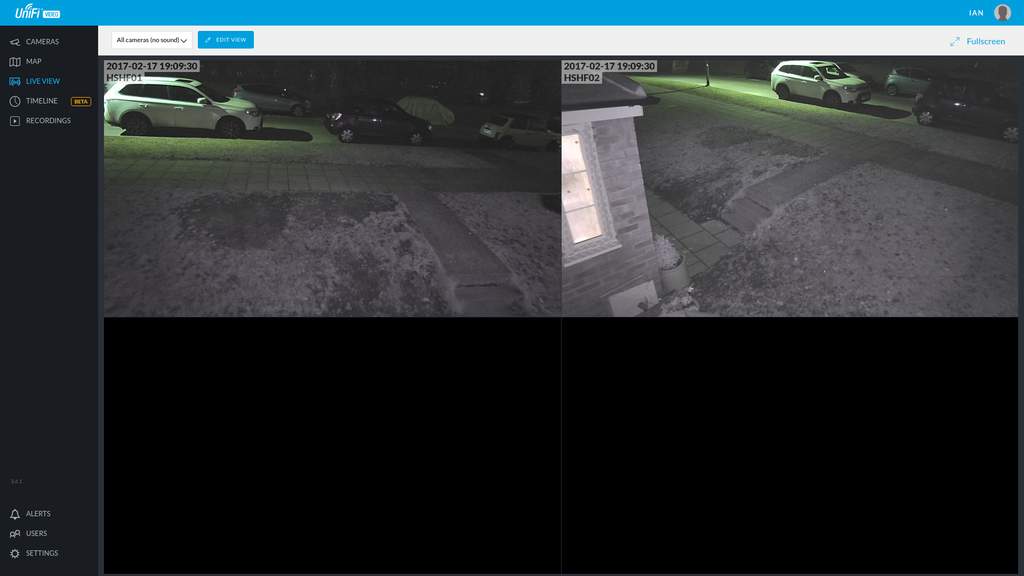
- IR night vision
The Annke system didn't have audio, so this was a bonus for me, plus they can record in full 1080p HD definition, better than the 720p of my previous setup. One other big bonus over the previous kit, was that they were powered via PoE so I could plug them directly into my UniFi 8 port 150w switch without requiring any extra cables.
The install
The installation is very simple. Drill 2 small mounting holes into the exterior of the house and a slightly larger one to run the cat6 cable. As I was making up my own cables from scratch, I made the holes for these just large enough for the cable itself and added the RJ45 connectors afterwards to save having to get these through the brickwork as well. Once the cat6 was fed through the wall and a connector attached, it was a simple task of feeding the cable through the camera mounting arm and plugging it into the back of the head and then mounting the arm to the wall and the head to the arm. All in all, each camera took me no more than 15 mins each to wire up and mount. Just as per the internal network, the longest part of the job was running the ethernet cables.
Once the cameras were mounted and connected to the switch, you can connect to each of them individually via their own IP address in “standalone” mode. This is good for testing that you have a good image primarily, although you may find that the video is a little jerky to watch.
I'd decided before buying the cameras that I wasn't going to buy the dedicated UniFi NVR as I wanted a bit more freedom, so bought a WD Blue 1TB HDD and a WD Purple 4TB HDD. The 1TB Blue would run the operating system and the 4TB Purple for the video recordings. I dropped both of these into a Dell Optiplex 7010 Mini Tower that I had lying around. The system runs Debian for the OS and Ubiquiti kindly make Unifi Video available free of charge! It's simply a case of installing the OS as you would normally, downloading the .deb package and installing that like any other package you downloaded. Within a short time, you have your very own NVR up and running to the spec you desire.
Settings with properties
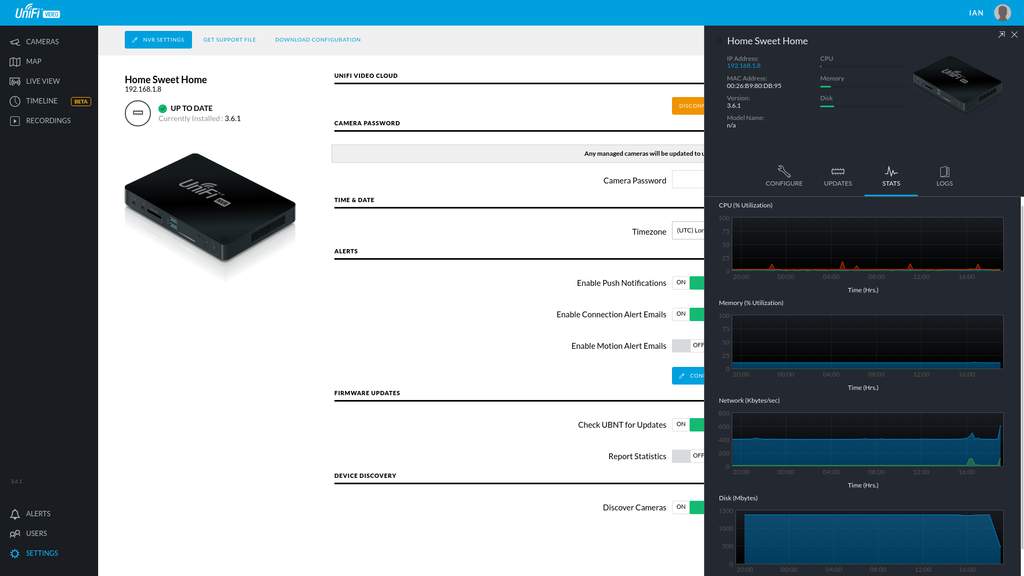
From the video controller, you have a vast amount of settings available to you.
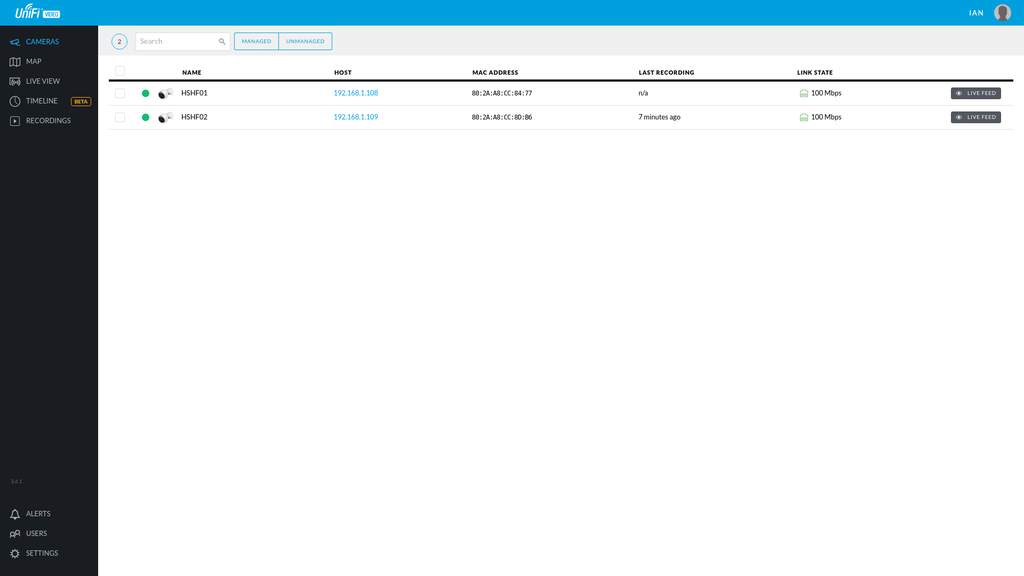
Cameras
Camera properties
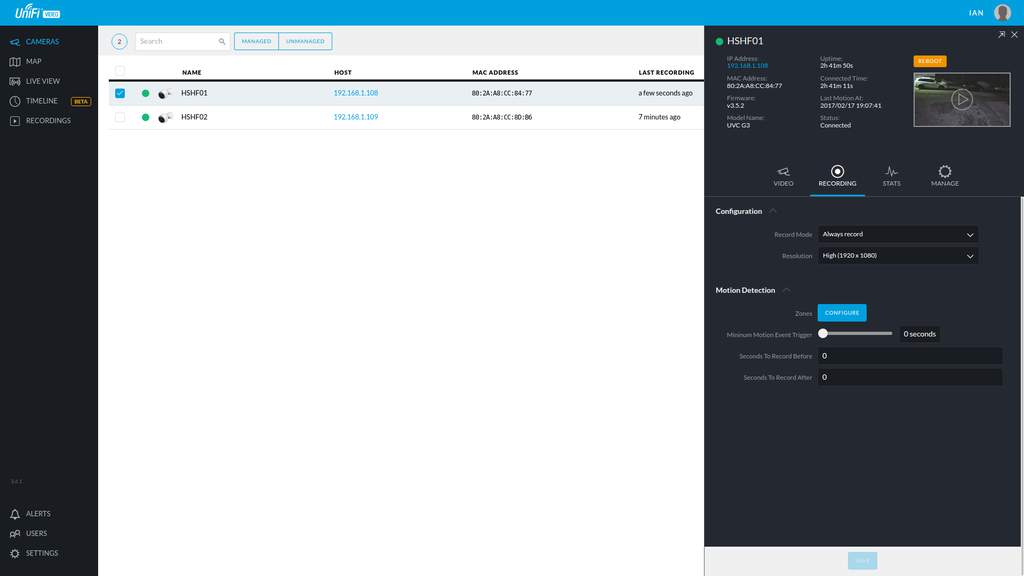
Camera properties can be set individually for each camera. This gives a lot of control over the likes of recordings for example. You may want “main cameras” to record 24/7 and “secondary cameras” to only record when motion is detected. I have mine recording 24/7 which also records separate snippets when motion is detected too, meaning that I can view the list of recordings and see when motion was detected and if required, view the entire video surrounding that event from the continuous recording. Continuous recording is split into 10 minute chunks.
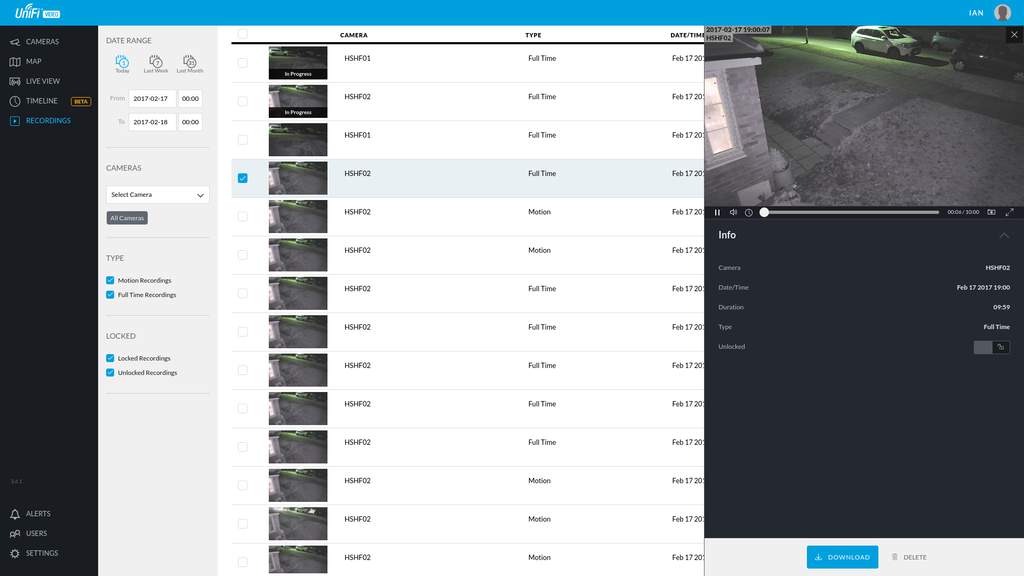
Recordings
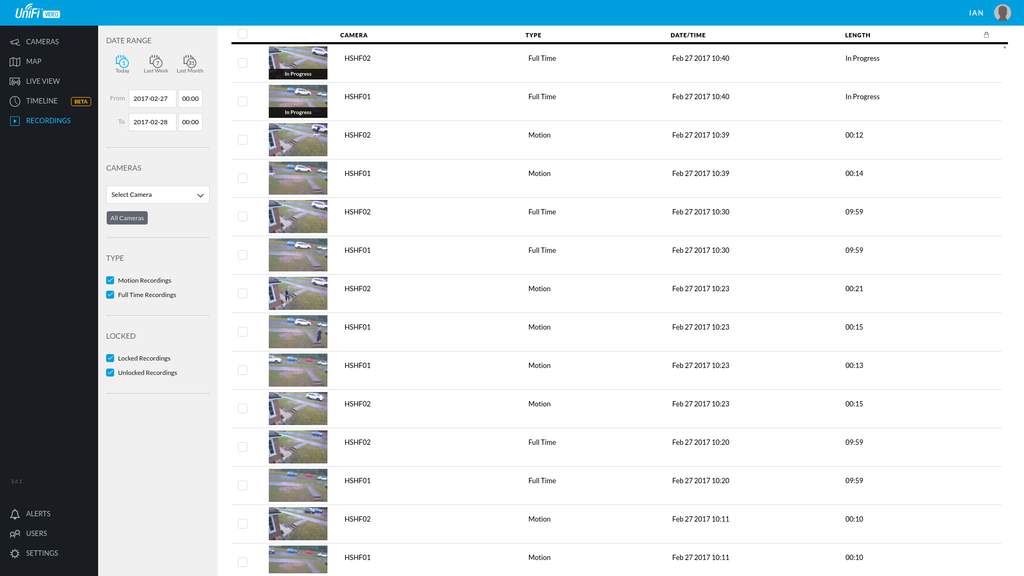
Each recording also has its own properties fly-out with further info and a way of playing that specific recording.
Live view
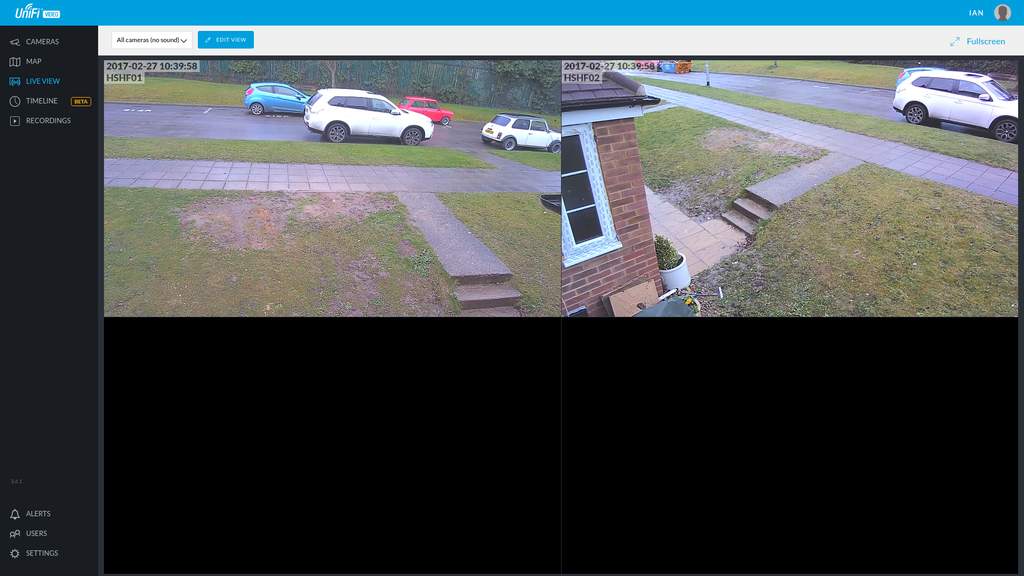 Day time
The quality of the images are really good, likewise the audio quality is excellent too.
You can configure multiple views for the Live View too. I have for example, a setup with sound and without sound, so that I can browse the video silently and enable sound if required by simply selecting a different view, but there's many other configurations that you can set up too, for example, number of cameras, the order of the views amongst others.
Timeline (beta as of writing)
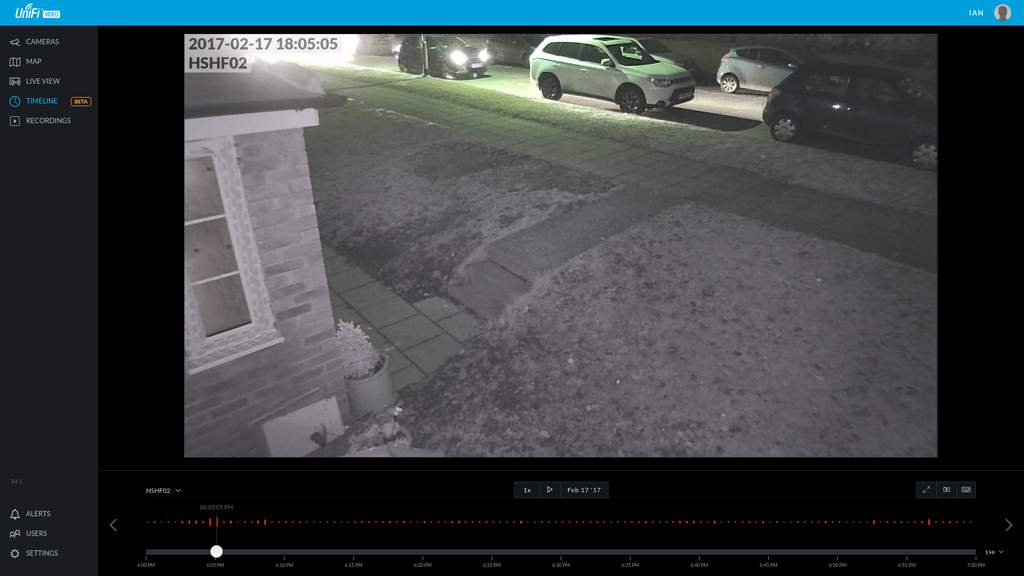
There's also the timeline view, where you can select a recording and see where motion happened, select a specific amount of time within the recording and export just that section, or the entire recording if you wish. These export into the common MP4 format making them easy to view on a vast number of external systems.
Other configurations
You can configure multiple users for the system too with individual permissions if required. These include read / write permissions for camera changes / recordings and can also be set on a per-camera basis.
I also have the system to trigger notifications and email alerts if / when cameras become disconnected. This means that if someone does attempt to tamper with them and pull / cut the cable, or if there's a fault in the system somewhere, I can be notified immediately of the problem and deal with it.
Just like the main UniFi controller for my internal network, the video controller can be accessed directly from outside, or you can connect via Ubiquiti's cloud controller service. Also being part of the UniFi family, the cameras show up in the UniFi controller as clients, so I can drill down into some of their properties and see what kind of data usage each is using etc too.
Ubiquiti has also produced a great iOS video app where you can set some basic settings for the cameras up, but enables you to be able to view both live and pre-recorded video streams.
Conclusion
I bought 2 cameras so far as I wanted to test them out before potentially committing completely, but after running these for a while now, am convinced they are definitely fit for my purpose. The build quality is great, the recording quality is great, they're simple to install and configure and offer a massive amount of flexibility if you want or need to use that. I'll be adding a few more to the system in the very near future.